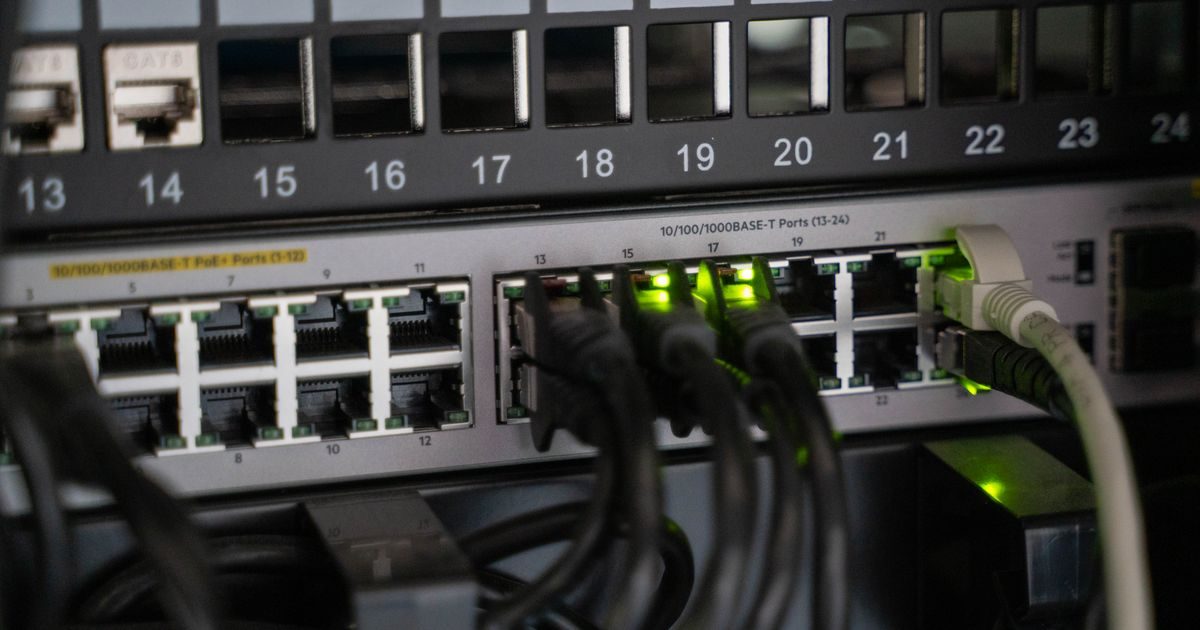
To migrate your website from shared hosting to a VPS, you need to back up your files and database, configure the new server, transfer your content, and update your DNS records. The whole process typically takes one to four hours depending on your site's size.
If your site has outgrown shared hosting—or you simply want more control—this guide walks you through every step in order. You can also browse more guides in our VPS servers section.
Why Migrate from Shared Hosting to a VPS?
Before diving into the steps, it's worth understanding what you gain from the move:
- Dedicated resources: on shared hosting you share CPU and RAM with dozens of neighbors; on a VPS those resources belong to you.
- Full control: install any software, tweak your web server configuration, and manage system processes.
- Better performance: faster page loads, fewer bottlenecks, and a smoother experience for visitors.
- Real scalability: adding RAM or CPU cores takes minutes without switching providers.
If your site receives more than 10,000 monthly visits, runs WooCommerce, Magento, or a custom application, migrating to a VPS is the natural next step.
Step 1: Back Up Your Current Site Completely
Never move anything without an up-to-date backup. A failure during migration without a copy can mean irreversible data loss.
Site files
From your shared hosting control panel (cPanel, Plesk, or similar), download a full backup of the public_html folder—or its equivalent—as a .zip or .tar.gz archive.
Alternatively, use SFTP to download all files directly to your local machine.
Database
Open phpMyAdmin (or use the MySQL CLI if your shared host provides SSH access) and export each database as a .sql file. Keep the database username and password handy: you'll need them when importing.
Step 2: Provision and Configure Your VPS
With your backup ready, purchase your VPS and prepare the environment. For a PHP + MySQL site the minimum is a LAMP stack (Linux, Apache, MySQL, PHP) or LEMP (with Nginx instead of Apache).
Update the operating system
sudo apt update && sudo apt upgrade -y   # Ubuntu/Debian
sudo dnf update -y                       # AlmaLinux/Rocky
Install the web stack
sudo apt install apache2 mariadb-server php php-mysql -yMatch the PHP version to the one used on your old host. A major version jump—say, from PHP 7.4 to PHP 8.2—can break plugins or legacy code.
Create a new database and user
sudo mysql -u root -p
CREATE DATABASE mydb CHARACTER SET utf8mb4 COLLATE utf8mb4_unicode_ci;
CREATE USER 'myuser'@'localhost' IDENTIFIED BY 'strong_password';
GRANT ALL PRIVILEGES ON mydb.* TO 'myuser'@'localhost';
FLUSH PRIVILEGES;
Step 3: Transfer Files and Database
Upload the files
The fastest method is rsync or scp from your local terminal to the VPS:
rsync -avz /local/path/public_html/ user@VPS_IP:/var/www/html/A graphical SFTP client (FileZilla, Cyberduck) also works—it just takes longer for large sites.
Import the database
mysql -u myuser -p mydb After importing, update your CMS configuration file (for example, wp-config.php for WordPress) with the new database name, username, and password.
Step 4: Configure the Domain and Test Before Switching DNS
Before pointing your domain to the VPS, test the site by editing the hosts file on your local computer. This lets you access the new server without affecting live visitors.
On Windows: C:\Windows\System32\drivers\etc\hosts
On macOS/Linux: /etc/hosts
Add one line:
VPS_IP yourdomain.com www.yourdomain.comBrowse the site and verify everything works: images, forms, login, payment gateways.
Set up an Apache VirtualHost (or Nginx server block)
<VirtualHost *:80>
    ServerName yourdomain.com
    ServerAlias www.yourdomain.com
    DocumentRoot /var/www/html
    ErrorLog ${APACHE_LOG_DIR}/error.log
    CustomLog ${APACHE_LOG_DIR}/access.log combined
</VirtualHost>
Step 5: Update DNS and Monitor
Once everything checks out on the VPS, update the DNS records at your domain registrar to point to the new server's IP address. Typical TTL is 24–48 hours, but you can lower it to 300 seconds ahead of the switch to speed up propagation.
During that window, keep the shared hosting account active and watch the new server's logs:
sudo tail -f /var/log/apache2/error.logOnce propagation is complete and traffic is flowing to the VPS without errors, you can safely cancel your shared hosting plan.
Key takeaways
- Always take a full backup before touching anything.
- Test with a local
hostsfile edit before touching DNS. - Match the PHP version on the VPS to your old shared host.
- Lower your domain's TTL in advance to speed up DNS propagation.
- Keep shared hosting active until the VPS is confirmed to be working correctly.
If you'd like expert guidance on choosing the right VPS plan and handling the migration from start to finish, the team at elenlace.com is ready to help.
FAQ
How long does it take to migrate from shared hosting to a VPS?
For a typical WordPress site under 2 GB, the full process takes one to three hours. Larger sites with multiple databases may need half a day, but actual visitor downtime is limited to DNS propagation.
Will I lose any data during the migration?
No—as long as you take a complete backup before starting and test the new environment before switching DNS. The local hosts file trick ensures nothing changes in production until you're confident everything works.
Do I need Linux administration skills to migrate to a VPS?
A basic migration requires intermediate command-line knowledge. If you prefer a managed VPS, your provider handles server installation and configuration; you only need to transfer the files and database.
What happens to my SSL certificate during the migration?
SSL certificates are tied to the domain, not the server. You'll need to issue a new one on the VPS—Let's Encrypt is free and widely supported. Do this before switching DNS so the site is available over HTTPS from the very first moment.
Prefer it done for you? El Enlace handles hosting and professional web development.
Compare providers
Other providers and guides worth comparing: